A sharp plan sets the tone for any paint job, and quality lives in the details. I focus on risk control, clean workflow, and clear handoffs so crews move fast without cutting corners. You’ll see how choices around primers, sheens, and tape types protect walls, trim, and schedules. Quick inspections upfront reduce surprises down the line. Weather, room use, and cure times shape the calendar; I’ll show matching strategies that reduce downtime. The goal is a finish that looks great and wears well, whether it’s a compact home office or a long-term family space. We’ll walk through examples from scuff-prone baseboards to bathroom ceilings that fight moisture. Along the way, I’ll share ways to avoid roller marks and boost safety with solid prep. One note up front: I’ll relate these steps to residential painting so every tip stays grounded in real-world homes. Work the plan, and the results show.
Aligning goals and spaces for clear deliverables up front
Start with a room-by-room walkthrough, noting wall repairs, trim profiles, and traffic patterns. You can review milestones residential painting for a clear view of deliverables. Mark problem spots like nail pops, hairline seams, and glossy patches that need deglossing. Map tape lines before any sanding begins. List who moves furniture so nothing stalls on day one. Lock in drying times for windows and doors. These notes prevent add-ons that drain time.
Use a simple matrix: walls, ceilings, trim, and specialty surfaces like railings. Link every zone to a fix action before you choose products. In a nursery, low-odor paint plus tight dust control matters more than speed. For a guest suite, durability and light-reflective sheens can lift the look fast. Choose a single point of approval to keep questions from circling. Clear roles reduce wasted motion.
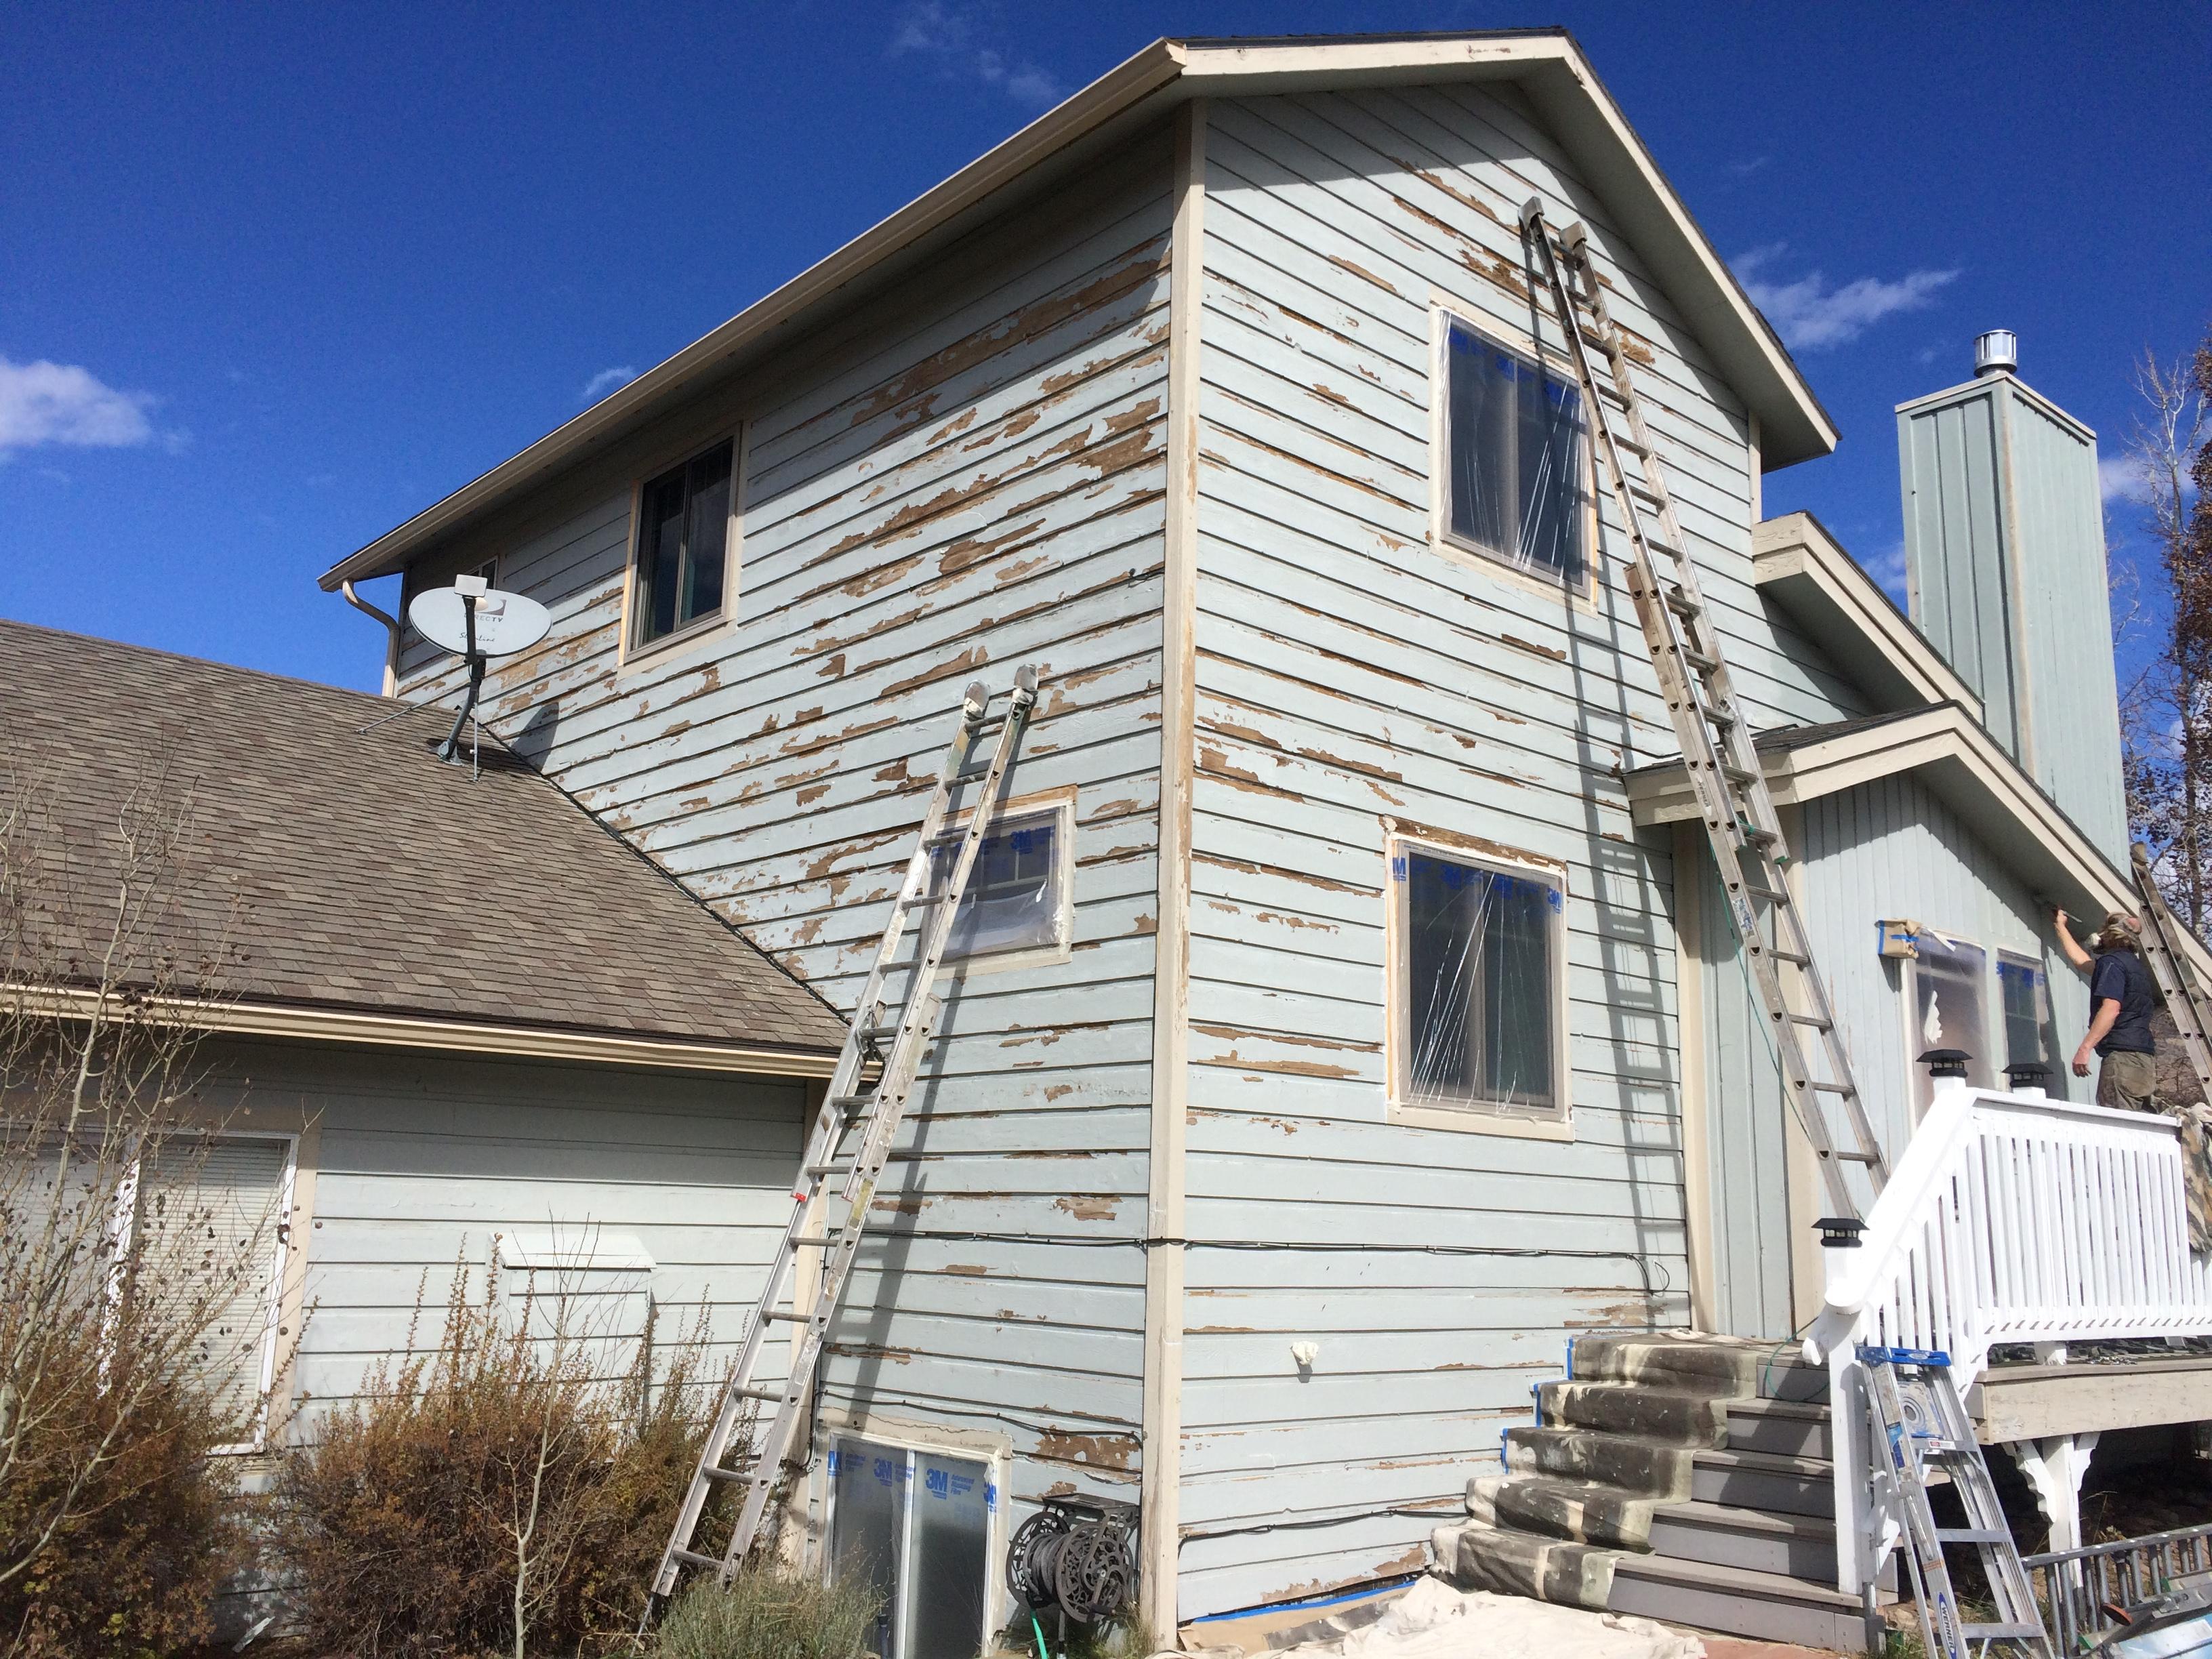
(Image: http://www.precisionpaintingllc.com/content/IMG_3922.jpg) Choosing sheens and tapes that match each condition
Materials should solve the specific problems you listed. Build your kit around edges that stick, rollers that shed less, and primers that block marks. Compare tape adhesive strength to the surface; strong tape can lift finish when you pull. You can align product picks Residential Painting with the repairs you planned earlier. For a sun-beaten bay window, UV exposure can make caulk brittle; choose a paintable, flexible sealant. Hallways favor stain-resistant finishes. Choices now prevent do-overs later.
On trim with old oil coatings, a bonding primer helps new finish grab. Feather edges on patches before full coats. Doors love fine-finish rollers that reduce stipple, while stair rails benefit from controlled brushwork. Pull switch plates, don’t paint around them. A targeted toolkit saves hours.
Sequencing phases and hand-offs to keep the day moving
Order matters: cover, fix, seal, finish. Stage rooms so one dries while another gets prep, trimming dead time. Lay runners from entry to work zones to avoid footprints and chips. Time your day around cure windows, then assign who circles back for second coats. For shared hallways or small condos, schedule quiet prep early; roll later when neighbors are out. Build your checklist in layers so nothing blocks the next crew. You can confirm the day plan Residential Painting and keep tools flowing between rooms smoothly.
In practice, that might look like ceilings at 8 a.m., walls by noon, trim in the afternoon. Open windows only when humidity drops. A small team can leapfrog rooms: one patches, one cuts, one rolls. Label paint cans per room to avoid mix-ups. Tight sequencing reduces fatigue and mistakes.
Reducing risk with tight controls and clean technique
Quality shows up in prep dust, taped lines, and how you pull. Build micro-inspections into each pass: run a light across the wall before coating. Pull tape at a 45-degree angle while paint is slightly soft. You can log small fixes residential painting and clear them before final coats. Keep a damp rag and a sharp blade in your pocket; drips shave clean if caught early. Heavy rolls sag and telegraph. Small controls save final polish time.
Watch for edge cases that ruin finishes. Sun patches speed-dry roller lines; work away from the glare. Gloss next to matte can flash if you skip priming after a repair. Fresh joint compound drinks paint; spot-prime and feather wide. Sharing checks cuts rework.
Caring for high-touch areas and planning the finish arc
The job doesn’t end at cleanup; it starts a maintenance cycle. Note cure times on a card for the homeowner and remind them about wipe-down rules. You can add touch-up dates residential painting to a simple calendar so scuffs get handled early. Kitchens and mudrooms take abuse; keep a labeled pint for each room. Gentle wipes protect sheen. A care plan keeps the finish fresh.
Make a map of trouble zones: chair backs, door frames, stair walls. Inspect quarterly for dings where moisture moves. If a space hosts pets or kids, consider guards or rails to shield corners. Under bright windows, be ready to spot-prime and touch coat as needed. Keep records of colors, sheens, and product lots; future you will thank present you.
Fitting vendors to your project and the questions to ask
The right crew matches your scope, schedule, and tolerance for dust. Ask for surface-specific examples and how they handle patched drywall versus old trim. You can request a sample wall residential painting before green-lighting the whole house. Seek clarity on tape choices for delicate areas and what primers they use over slick banisters. Look for tidy staging during a small test. Process beats promises.
Ask how they plan around humidity, pets, or limited parking. Great teams bring drop cloths that actually cover. Learn who approves each phase and how add-ons get priced. Clear change orders prevent drift. A good fit is calm and predictable.
Conclusion: With clear scoping, matched materials, tight sequencing, and steady checks, you cut risk and raise finish quality. We tied each step to real rooms and real habits so choices support both the look and the lifespan. Keep documenting products, colors, and small fixes, and maintenance becomes routine instead of a scramble. Do this well once, and your walls will thank you for years.